
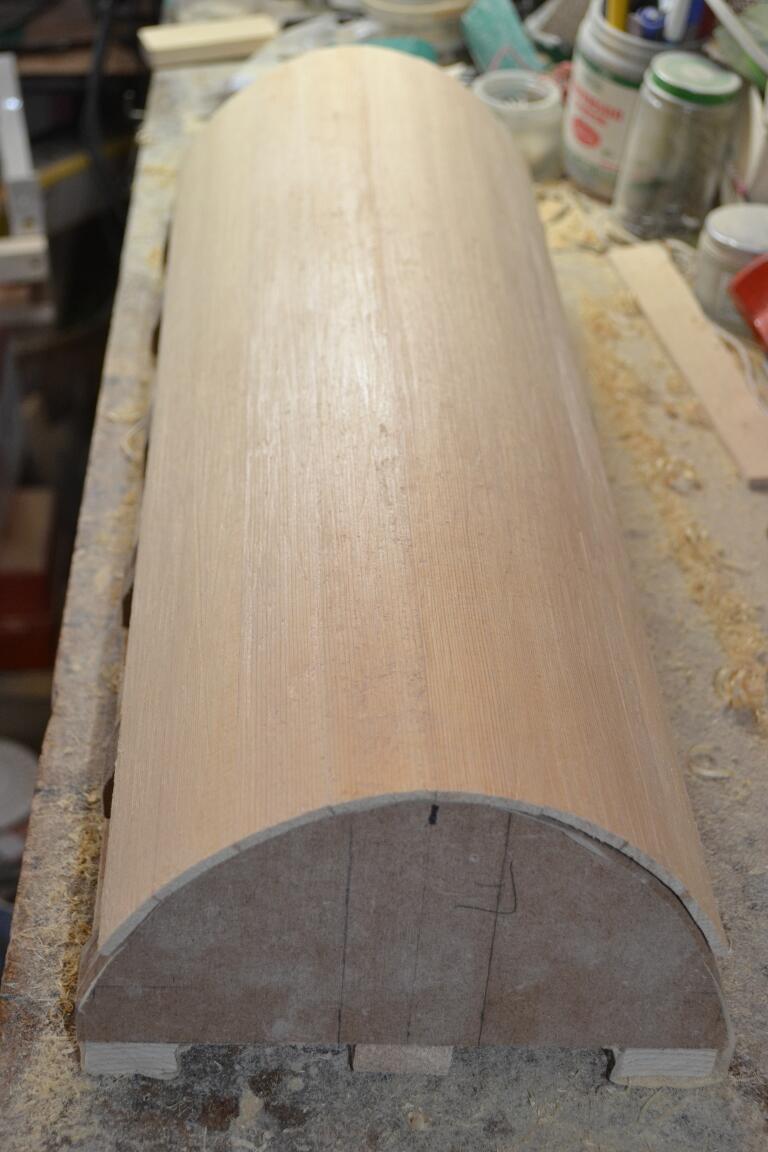
Now the top (second version) is glued up from strips, and approximately the right shape, it has to be shaped, and thinned considerably, before fitting on to the body of the instrument. Here’s the “raw” top:

After the first hour or two of work, the varnish has been removed, and the inside and outside are very approximately smoothed. The inside is much harder to do than the outside, of course – a concave surface is harder to take material off quickly.


The old smoothing plane blade has been turned into a scraper – I sharpened the convex end and hardened it (heat tempering). The sandpaper is on a soft(ish) foam rounded block.
After several hours of planing (outside) and sanding (inside) I had got the thickness down to about 4mm. Final sanding, before fitting and after it has been glued on to the body, will take it all down to 4mm or a bit less. I used the former from the steaming clamp to support the top for planing – and at this thickness, it’s getting pretty flexible!
Once sanded and off the former, it’s clear how thin the top is:


Here it is sitting on the body, with the sound holes marked out. I’ll leave it overnight before starting to cut the holes, in case I change my mind!

Meanwhile, I’ve also been preparing the bass bar.
