

Keys – step 1 – cutting and fitting to the keybox
Making the keys is the last complicated job for the kontrabas, simply because they are all slightly different, and some […]
Keys – step 1 – cutting and fitting to the keybox Read Post »
Making the keys is the last complicated job for the kontrabas, simply because they are all slightly different, and some […]
Keys – step 1 – cutting and fitting to the keybox Read Post »
The nut on a stringed instrument like the nyckelharpa is the piece of wood (or sometimes plastic) over which the
When I first started the drawings I had decided how I wanted to tune the sympathetic strings. I wanted a

I wanted the kontrabas body to be a fairly dark colour, and initially thought that “Falun red” (the colour of
Staining and varnishing Read Post »
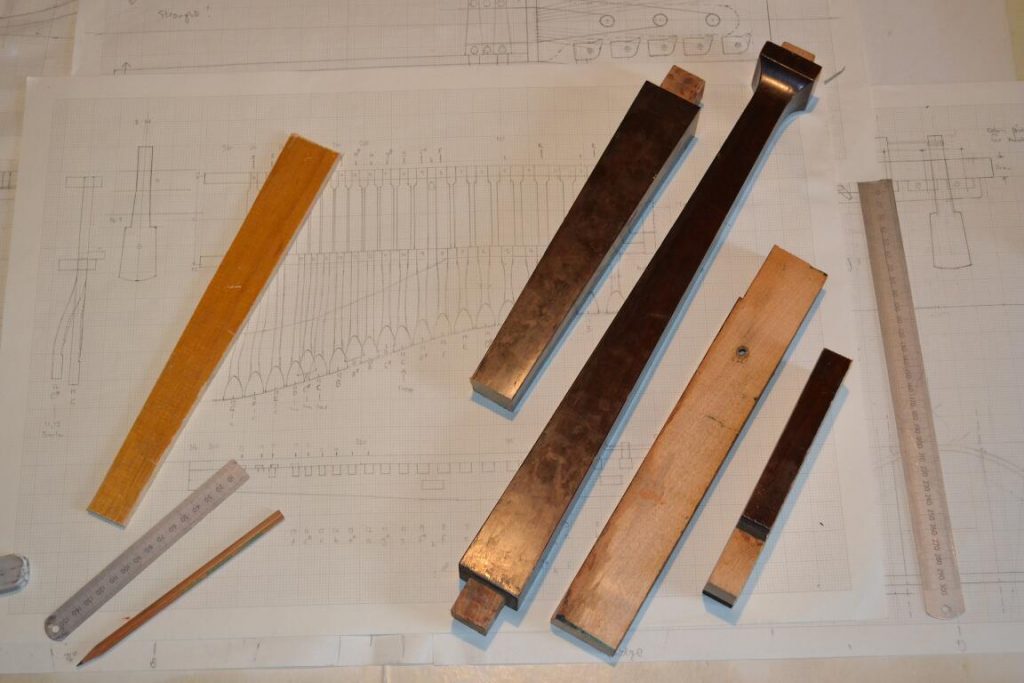
Nycklar och löv – 1 🙂 (Keys and tangents – 1) The raw materials!
Keys and tangents – the start Read Post »
I couldn’t resist getting a couple of strings on and seeing what it sounds like. She speaks! 🙂 Now there will

The tailpiece isn’t fastened to the body, just held in place by the tension of the strings and a retaining

The bridge is a key component – but pretty small! In the traditional instruments, some of the sympathetic strings were

Unfortunately I forgot to take photos as I was making the soundpost. It’s another piece of the old piano soundboard,
Soundpost and first assembly Read Post »

There are a lot of possibilities in choosing the wood to use from my recycled piano – I don’t know
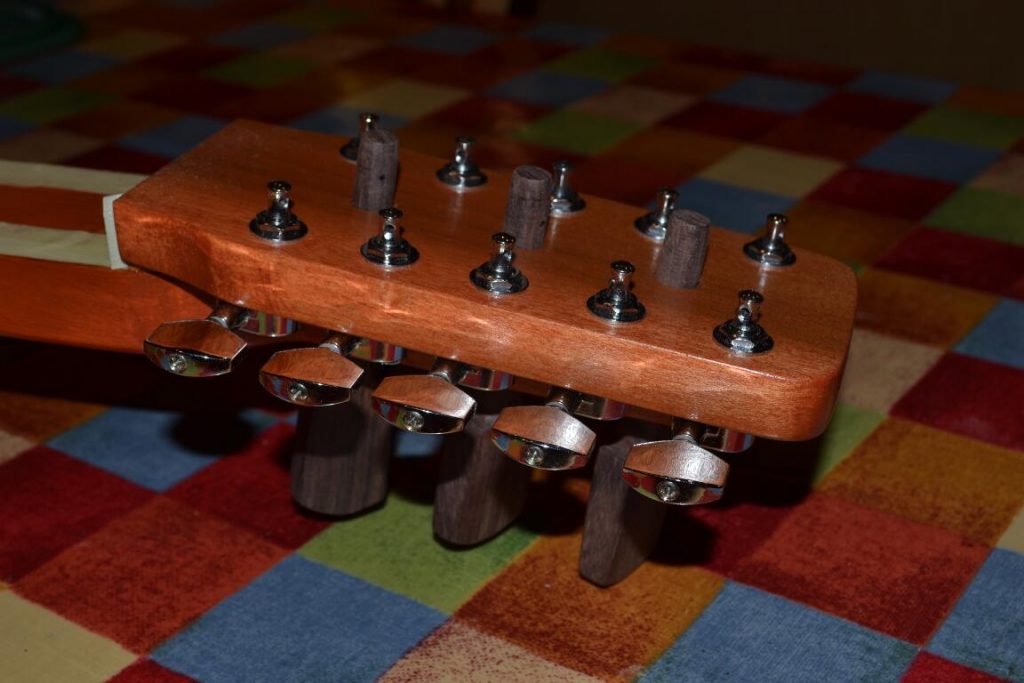
Nut and tuning pegs Read Post »

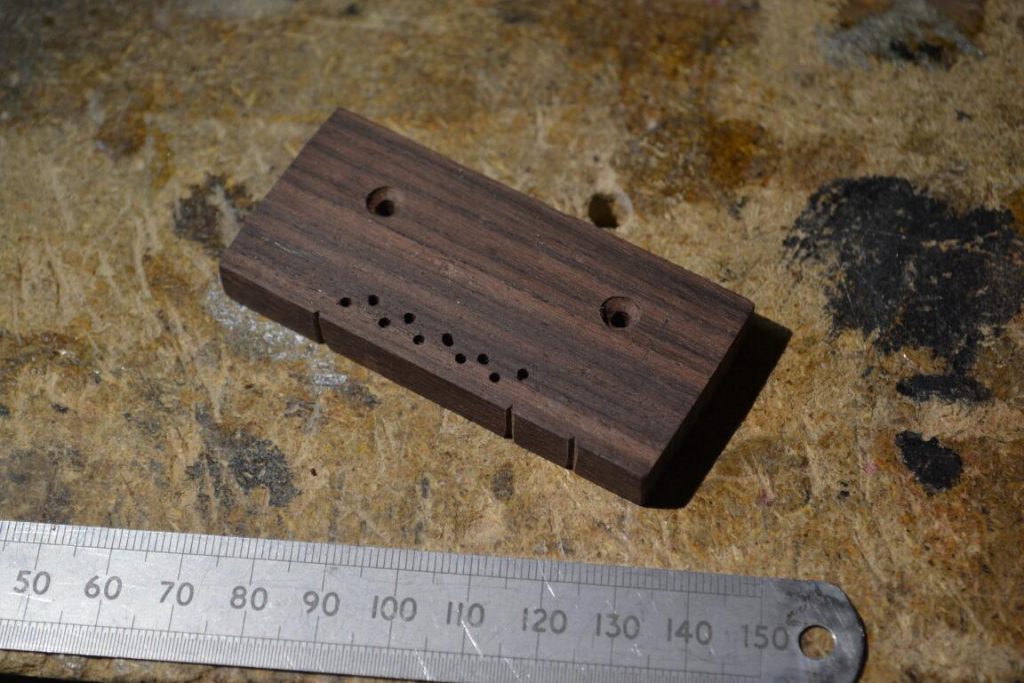
The key box design is very simple (thank you Kjell Lundvall for the suggestion). It’s even more simple than the
Making the key box Read Post »
Having got the top nicely smooth, it’s time to cut some holes in it. Knowing how much work has gone
Finishing and fitting the top Read Post »

Now the top (second version) is glued up from strips, and approximately the right shape, it has to be shaped,

Having found that a steamed top wasn’t really working well enough – I really think this old timber is very
Making the top – part 2! Read Post »

Before completing the second attempt at the top of the instrument, I decided to complete and glue on the headstock
The headstock (or pegbox) Read Post »

Before the top can be attached to the body, there are a few more things to do. First, decide how
Preparing the top – and a little problem! Read Post »

After a lot of work planing the piece selected for the top to thickness (about 3.5 to 4mm), it was
Originally I thought I would make the top from glued pieces, and cut it out to shape with chisels and
Preparations for steaming Read Post »

The back of the instrument is made from tonewood – a part of the old piano soundboard, cut to size

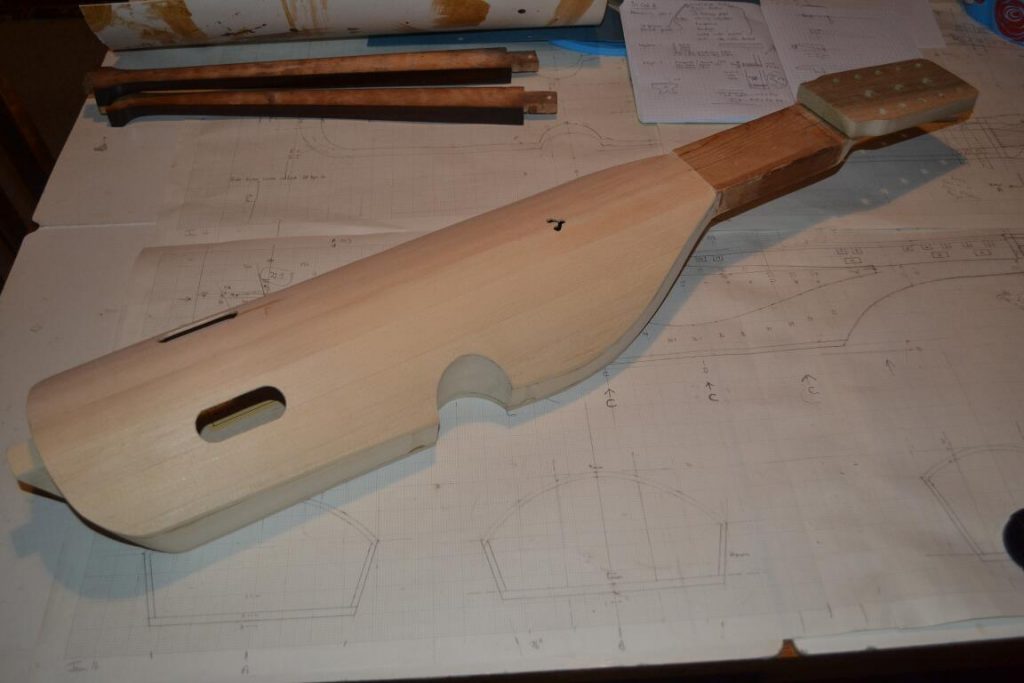
Time to finish the rough shaping, and round off all the sharp corners! First a bit more wood can be
Body shaping completed Read Post »

Now I have a lump of wood that’s roughly nyckelharpa shaped, it’s time to start cutting bits off to get